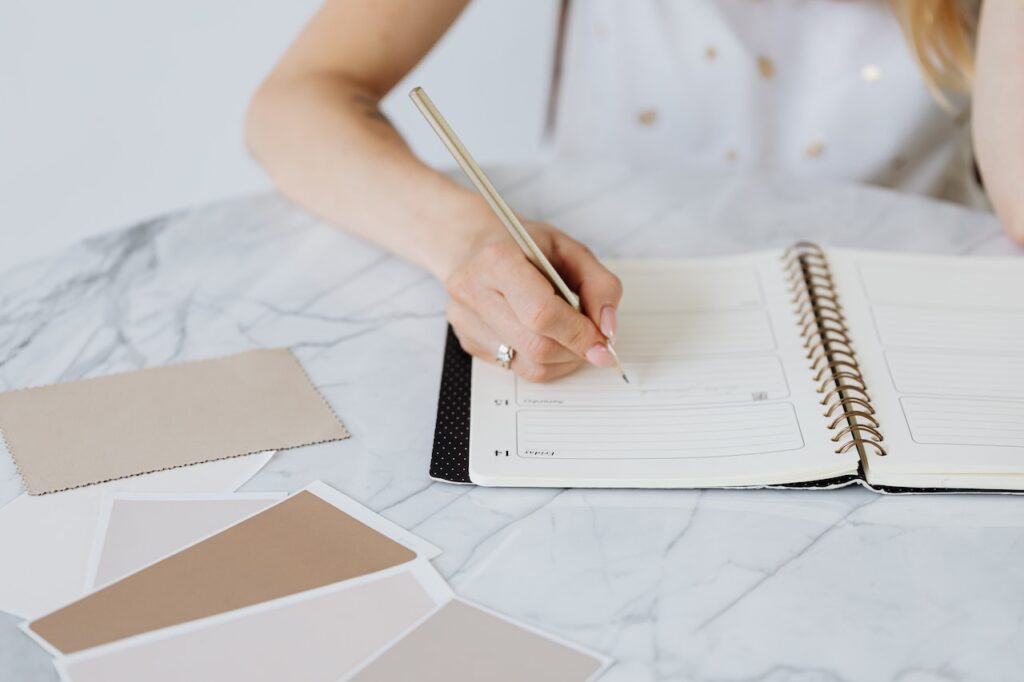
Creating your own calendar is a great way to stay organised and manage your time. Whether you’re looking for a way to keep track of upcoming appointments, plan for important events, or just keep your daily life on track, a personalised calendar can be an invaluable tool. And the best part is, you can make it yourself and add a variety of sentimental elements to it that are close to your heart. Here are five tips to help you make a calendar of your own in no time.

- Decide What You Need
Before you make your own calendar, it’s essential to decide what kind of calendar you need and the design you’d like it to have. Are you looking for something really simple with only the basic information, or would you like more elaborate, detailed features? Are you going to need reminders for upcoming events or meetings? It’s important to think about what type of functionality will work best for your needs before moving on with the process of creating your own calendar.
- Choose Your Format
After you figure out the kind of features and functions you want to include in the design, you need to choose the format that works best for you. There are many different types of calendars available such as wall calendars, desk calendars, planners, and digital versions like Google Calendar or iCalendar. Consider where and how often this calendar will be used when deciding which format is right for you. If portability and time management are what you are going for, then a planner might be the best choice, whereas if it’s going up on the wall, then a wall-hanging version would be better suited for that purpose.
- Gather Design Elements
Now that you have chosen the format and decided on which features should be included in the design, you must gather all of those elements together so they can be easily incorporated into one cohesive design layout when creating your calendar. This includes any images or illustrations that will appear on each page along with any text descriptions or labels needed throughout each month/week/day section, depending on the kind of display that has been chosen (e.g. weekly vs. monthly). Any colour schemes should also be considered at this stage, if applicable, as well as any additional layouts such as grid lines and the like.
- Start Designing
Once all the necessary elements have been collected, it’s time to start designing. You can use software applications like Adobe Photoshop, Illustrator, or InDesign to bring everything together into one comprehensive document, ready for printing out once completed, if you like. If you happen to be using online services like Google Calendar, there are usually plenty of customisable templates already pre-made. So, simply select one from there instead before filling in all necessary details accordingly. Alternatively, consider using sites such as Canva, which offers lots of free templates as well.
- Print And Enjoy!
The final step is simply printing out and using your new custom-made personalised planner. If you’d like this to entirely be a home project, you can easily print out your calendar by connecting your device to the printer via a USB cable. However, if you’d like something more professional and hassle-free, you could consider using local print shops instead. This saves you a lot of stress, as you need not worry about running out of ink after printing multiple pages, nor do you have to manually ensure the prints come out right. Being professionals, they make sure everything is as you want and usually offer competitive prices plus delivery options, taking care of the entire process for you.
So there we have it – five easy steps to make our personalised calendars. Whether it’s paper-based ones designed through software applications or digital versions created via online services such as Google Calendar, we now know how easy making one can be! So why not give it a go today?

